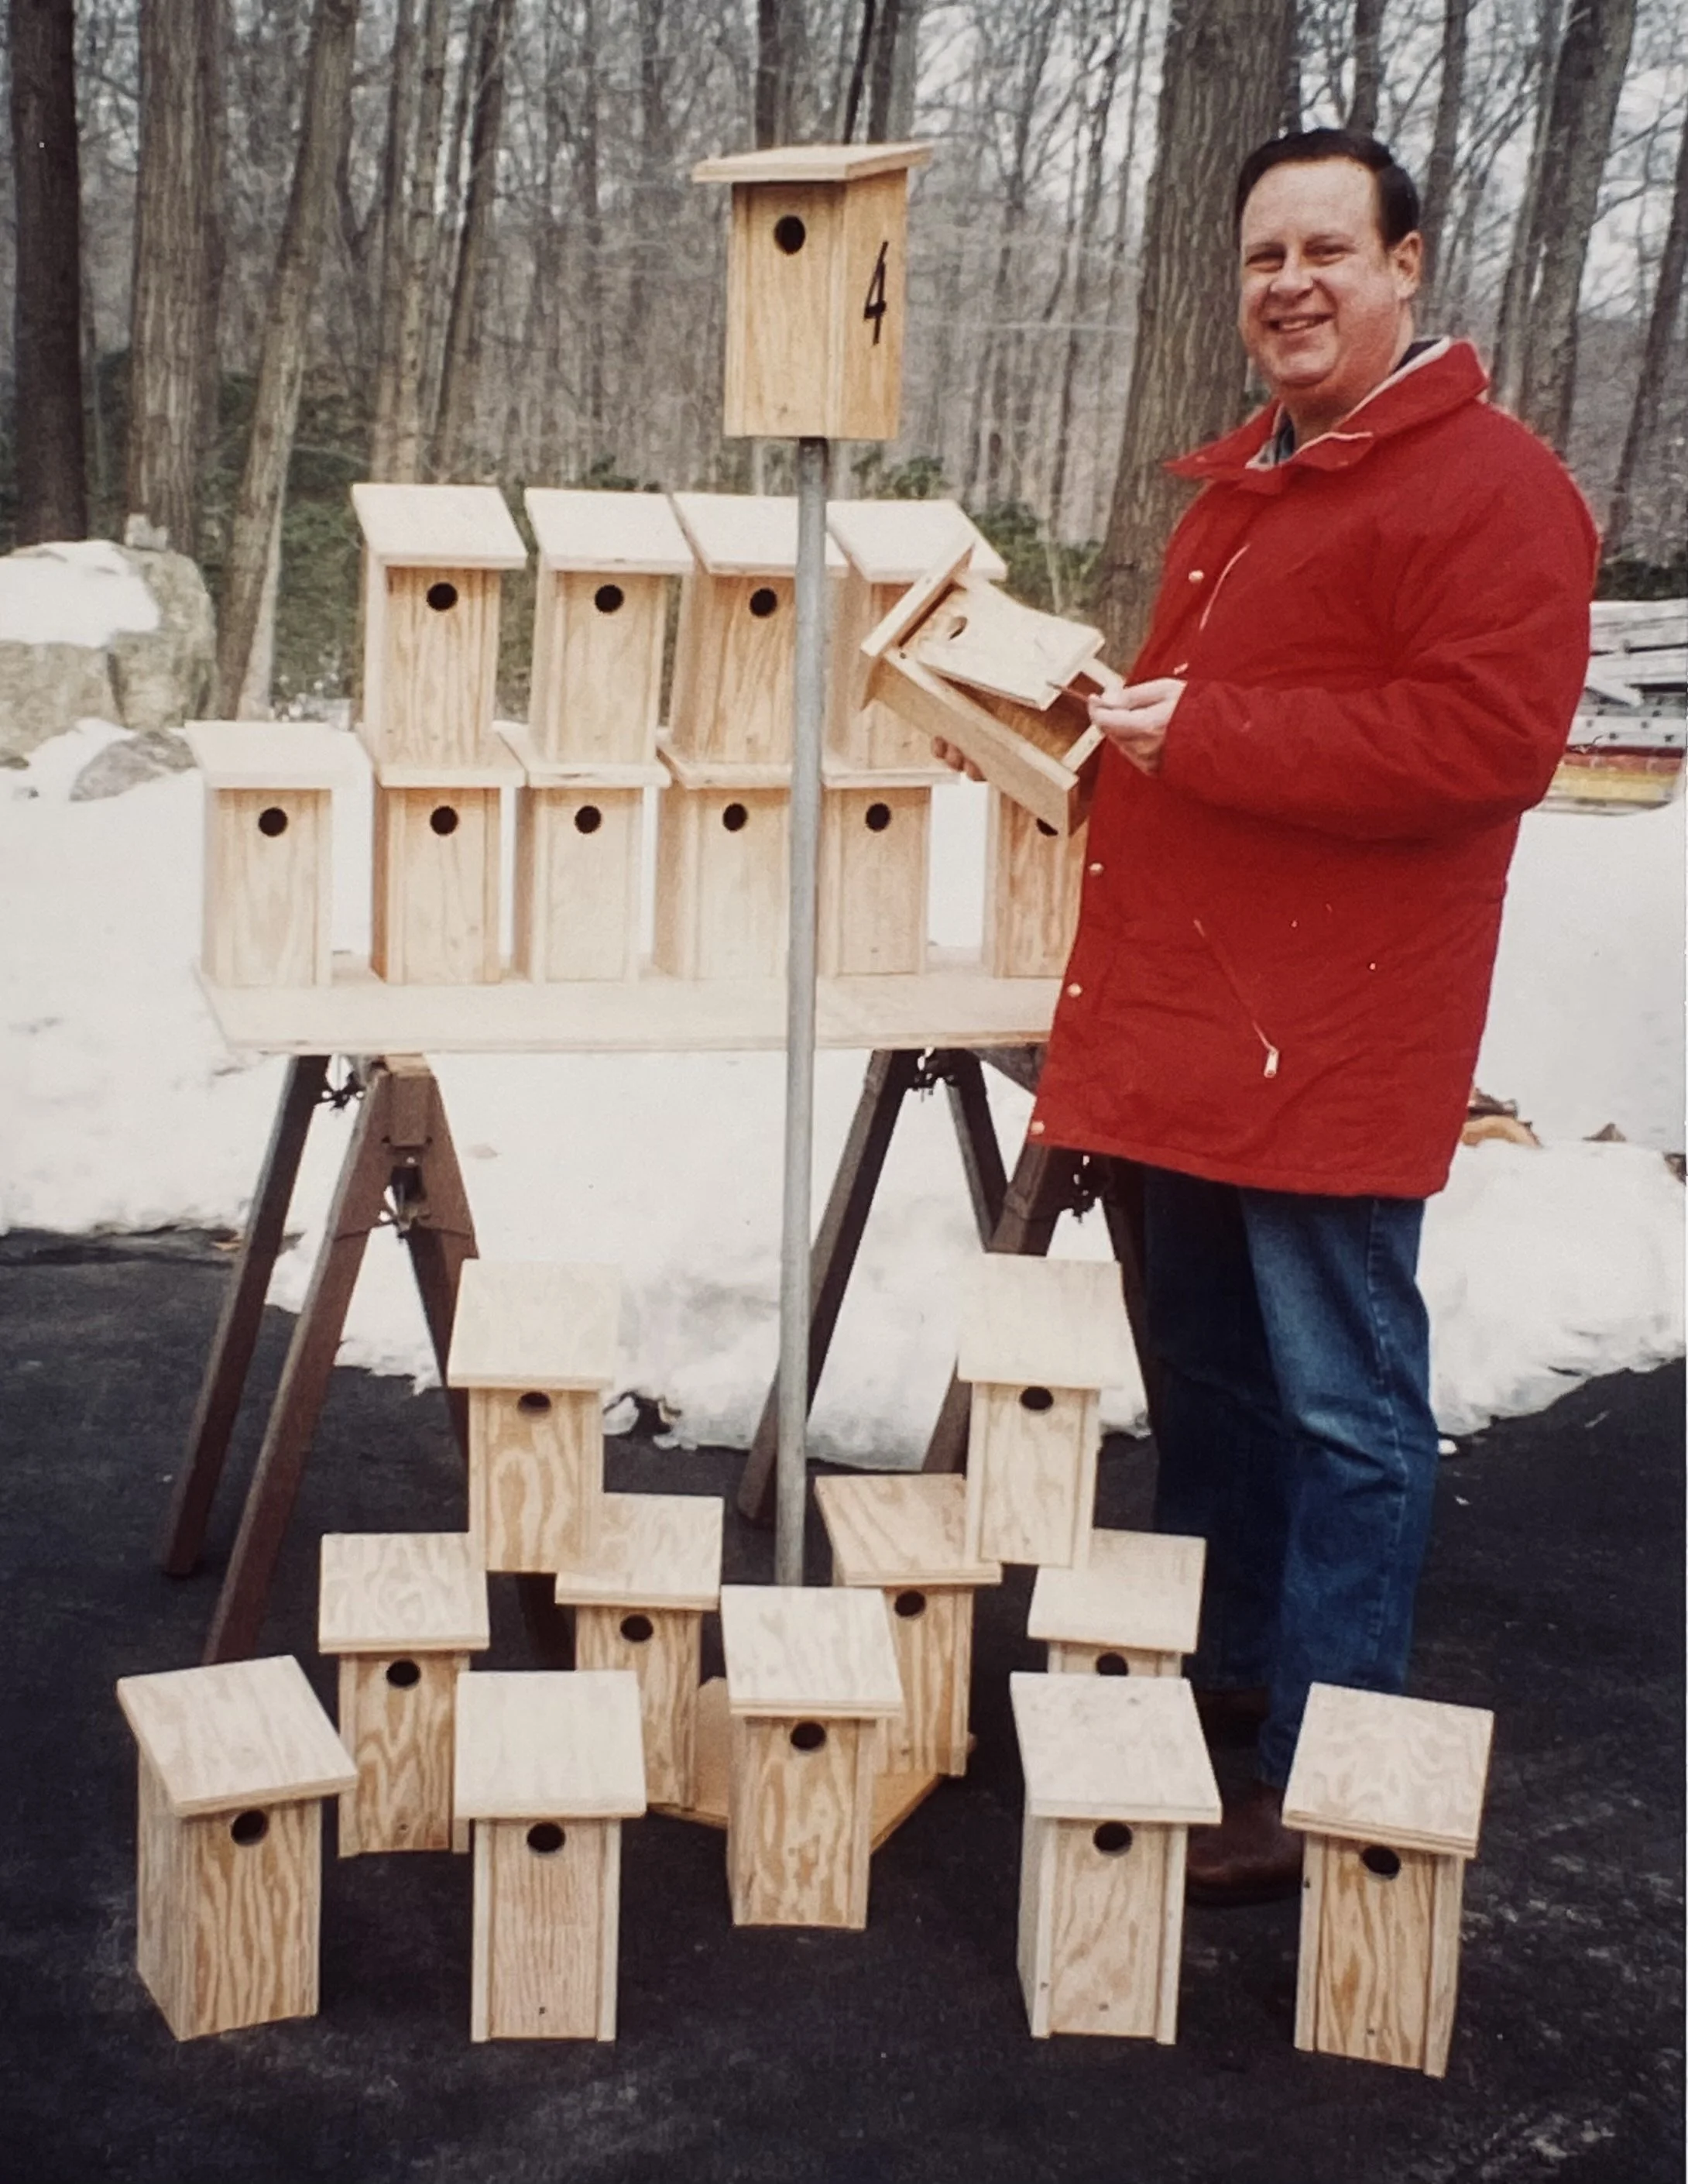
Wine Bottle Cork Coasters

This image is one of the six inch square wine bottle coasters I built with particularly decorative, interesting, old wine corks that we had collected ourselves and with help from good friends. It looked like an easy project, but was not. There was a surprise.
The wine bottle coasters were not a one-off, but a mass-production shop project. As Christmas gifts, I built 12 of them for the whole family and for my immediate team at Barnes Engineering. Jigs and fixtures were set up in my garage workshop to cut the router- and mitered mahogany sides pieces (48 of them) plus a thin luan backing sheet (just 12). These were clamped and glued together and then varnished. Now just glue in some corks, right? Nope! Below are the many additional steps needed to finish them.
First, I built a "working frame" on a light plank with four, shallow, square compartments just the size of the inner cork square patterns I would need. Note, it was used three times to get the twelve coasters I wanted to build. Importantly, I also used that plank as a lap-board so I could work alongside Mom in front of TV where it was warm. Sitting there in my mid-century-modern, blue chair with nice flat arms, I started working with the corks. Mom was very patient.
First, I hand-selected the most beautiful corks, cut some to length and fit them all together in different pleasing patterns in the four shallow compartments. As you would expect, the corks were inserted with their best side facing upward. However, and here is the surprise, because random, used corks are all different diameters and sometimes tapered or bumpy, the top was not at all level. Not good. I had to do something to assure a wine bottle would not wobble. Thus all the following, rather major steps were required to get the top surfaces flat.
A sewing pin was stuck into the top surface of each cork. I used that pin to pluck it up and out of the pattern. Employing the first pin as a reference, I stuck a second pin into the back surface of that cork. Then I flipped each cork over into a precisely face-side-down orientation and placed it back where it had come from in the pattern. And so, after a while, each compartment had all its corks but they were all upside-down. By the way, this is not a good look.
However, that allowed me to attack the backside of the coaster's cork patterns with hot-melt-glue to firmly attach all the corks together in a solid assembly. After all four squares were stabilized with glue, I went back to the cold garage shop and clamped the plank down on the workbench. A power sander with coarse grit rapidly took off all the high spots on the back side of the cork assemblies.The shallow compartments held them firmly in place for this rough handling. But now I had four solidly glued cork assemblies, with both sides flat and parallel. Once the dust was blown off them, I could glue these assemblies into the square mahogany frames I had already built. Best of all, the top surface of each was really flat and level with the selected logos and graphics and makers’s names right on top.
These assemblies were simply glued into the mahogany frames to complete the project.